
How to repair a shower diverter
9/4/20233 min read
A shower diverter is a device that controls the flow of water in your shower. It can be broken by age or damage, but it's easy to repair with a few tools and supplies.
If your diverter is broken, there are several causes:
The arm may have snapped off from being hit by something (like someone's elbow). This can be repaired with super glue or epoxy.
The plastic housing has cracked due to age or extreme heat exposure (such as leaving it on while taking a hot shower). This can also be repaired with super glue or epoxy if you're careful not to get any on your-- stings like crazy!
Tools and Materials Needed
Adjustable wrench
Screwdriver
Replacement diverter (available at your local hardware store)
Silicone caulk
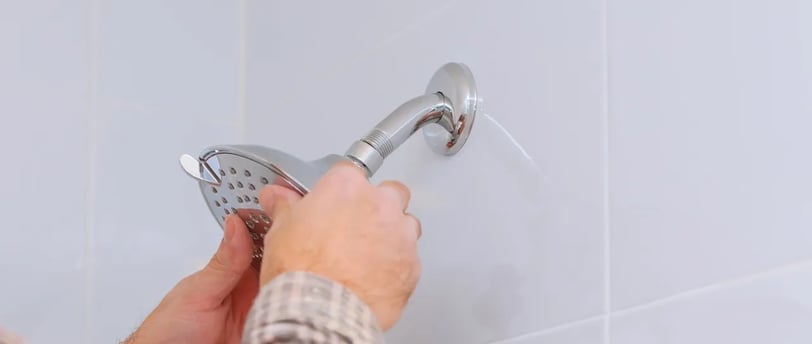
Steps to Repair a Shower Diverter
Turn off the water supply to your shower.
Remove the old diverter, and then install the new one in its place
Test to make sure that it works properly by running water through it for a few minutes before sealing it up with silicone caulk or other sealant materials.
Tips for Repairing a Shower Diverter
Use plumbers tape to secure the shower diverter to the wall.
Apply silicone caulk or other sealant around the base of your shower diverter. This will help prevent leaks from occurring in future, and will also make it easier for you to remove if necessary.
Clean any grime or mold from around your existing shower head before installing a new one; doing so will ensure that water flows freely out of both outlets at once without being blocked by dirt buildup in one area or another
Troubleshooting a Shower Diverter
If your shower diverter is not working, there are a few things you can do to determine the cause.
Check for blockage: If water is not flowing through the diverter, it might be clogged with mineral deposits or other debris. You can try cleaning out this area with an old toothbrush or pipe cleaner. If that doesn't work, try using a solution of vinegar and baking soda (1 cup each) in place of your regular shampoo/conditioner mixture when washing your hair--this will help dissolve some stubborn blockages.* Check for broken parts: Check if any pieces of plastic have broken off inside the valve assembly; these may need replacing before they can function properly again.* Check for loose connections: Make sure all screws on both sides are tight before trying anything else
Preventative Maintenance
Inspect the diverter regularly. The best way to prevent a problem with your shower diverter is to check it often and make sure that it's in good working order.
Clean the diverter regularly. If you notice any buildup on or around your shower head, use mild soap and water to clean it off as soon as possible--this will help prevent mineral deposits from forming inside of your pipes over time, which can lead to more serious problems down the road (and more expensive repairs).
Replace the diverter when necessary: If you notice any leaks coming from either side of your faucet or if water starts shooting out at odd angles instead of flowing smoothly through them like normal faucets do when they're turned on full blast then this may mean that something has gone wrong inside one part or another part entirely; so before deciding whether or not changing these parts might solve this problem for good - go ahead replace those parts first!
Conclusion
The repair of a shower diverter is an easy and inexpensive task. The most important thing to remember is that you should never attempt to replace your own shower head unless you have experience working with plumbing, or else you could cause more damage than good. If you're unsure about whether or not it's safe for you to try this project yourself, contact a professional plumber who can help assess the situation and provide advice on how best to proceed with repairs.
If your diverter has stopped functioning properly, follow these steps:
Turn off power at breaker box before making any repairs; this may not be necessary if there are no electrical components involved in your diverter system (e.g., if all parts are metal).
Remove old cartridge by unscrewing it from pipe threads using adjustable wrench or pliers; discard old cartridge carefully so no debris falls into sink drainpipe opening where it could clog up later